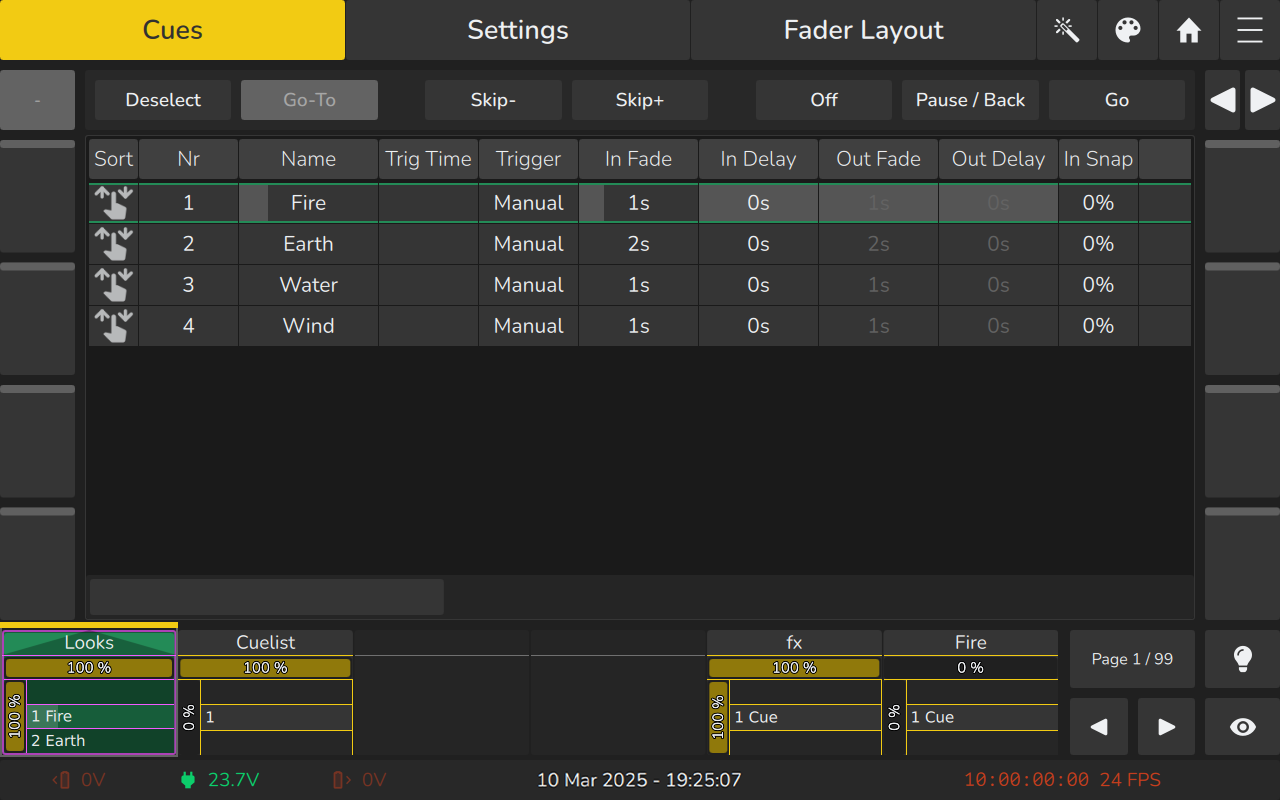
7.2 Playback View
All playback fader editing is done in the Playback View. Open it by pressing the fader label displayed at the bottom of the touchscreen above the physical fader.
Alternatively, press Edit on the console front panel, then select the Playback Label, Encoder Button, or the button beneath the Playback Fader.
Each playback has individual settings that define its behavior. These can be adjusted within the Playback View by changing to the corresponding tab by using the buttons in the top toolbar..
7.2.1 The Playback Cues View Context Menu (Magic Wand Button)
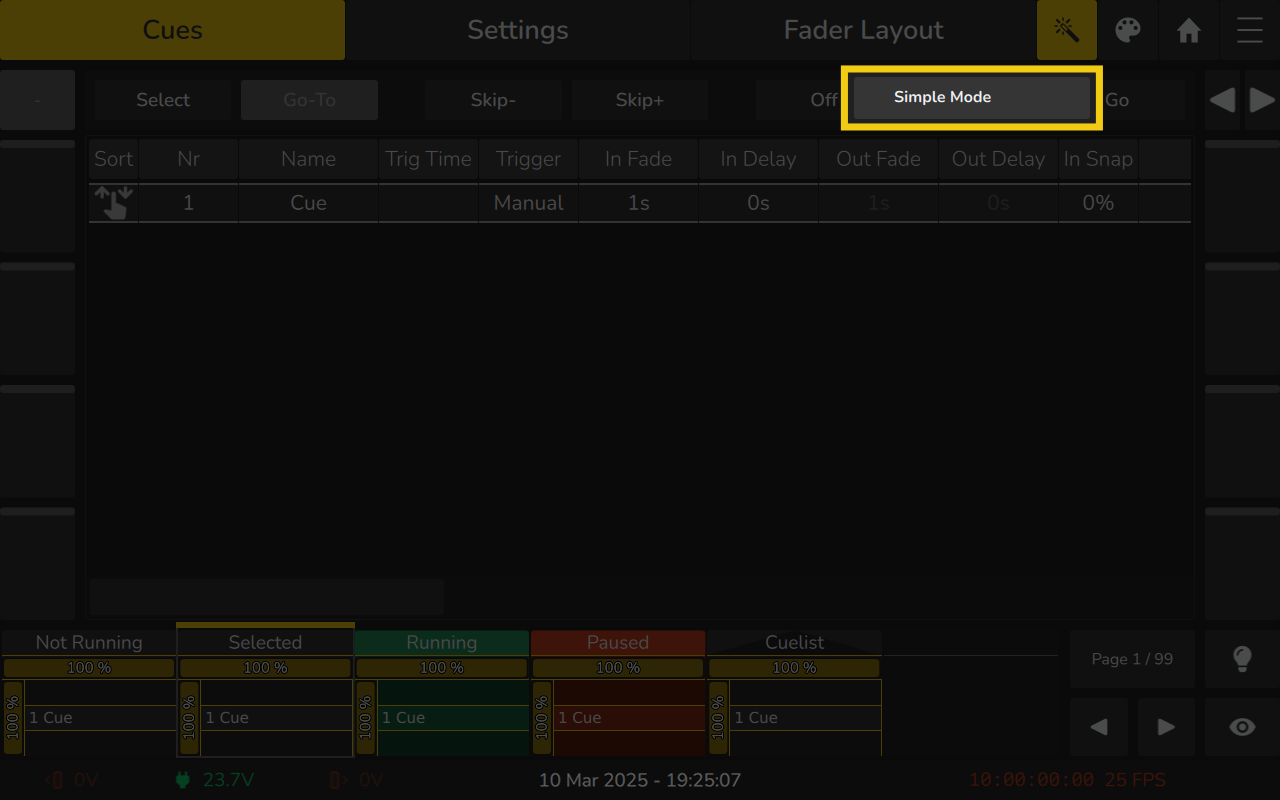
You can access this menu by clicking the Magic Wand  button within the Playback View - Cues Tab. The menu includes an option to hide certain columns from the cuelist view, called the Simple Mode.
For more detail on which columns are hidden when Simple Mode is active, please refer to the table below.
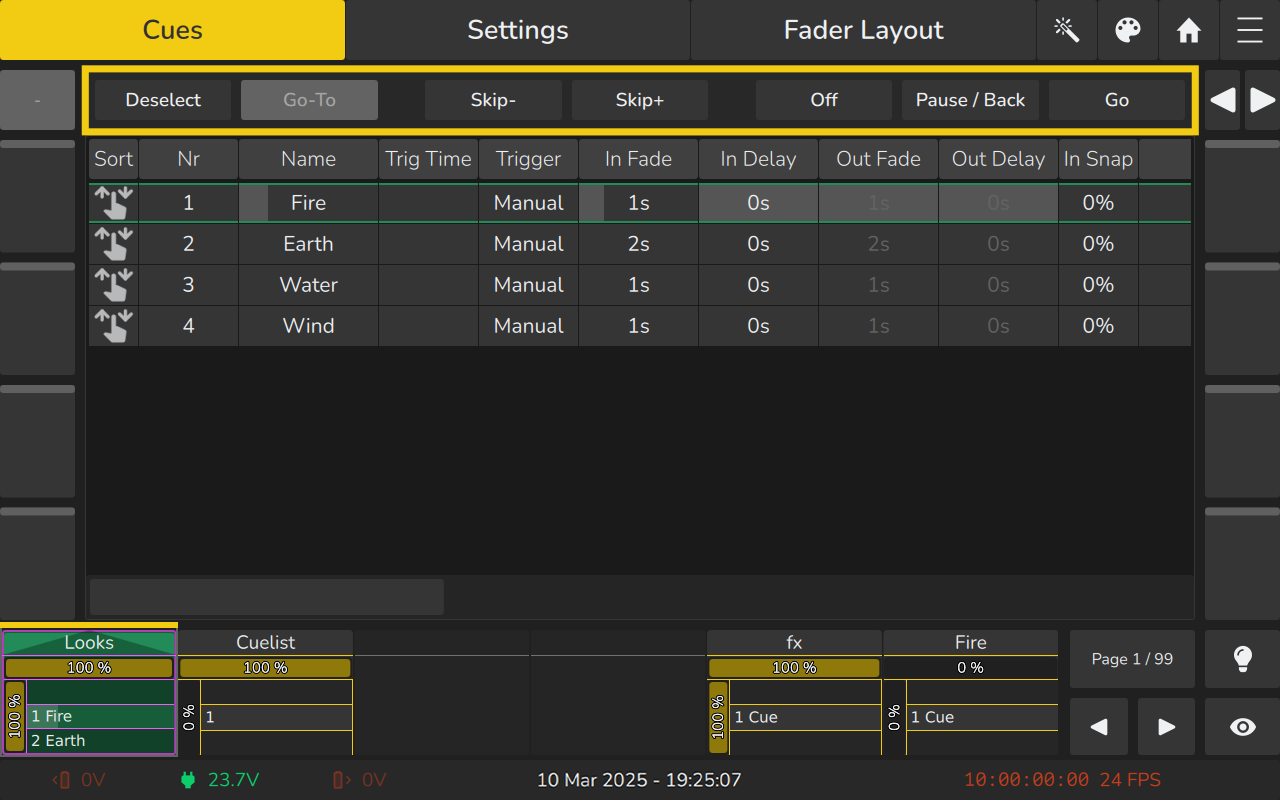
7.2.2 Playback View – Direct Control Section
The Direct-Control-Section of the playback view contains several buttons to control the playback that is opened within the Playback View.
| Button | Function |
|---|---|
| Select | Will select the Playback and make it available to the Master Fader. |
| Go To | Issues a Go command to start the selected Cue in the Playback view. |
| Skip- | Skips to the previous cue in the Playback without switching it on. If the Playback is running it will skip to the next cue, ignoring all fade times. |
| Skip+ | Skips to the next cue in the Playback without switching it on. If the Playback is running it will skip to the previous cue, ignoring all fade times. |
| Off | Will switch the Playback off. |
| Pause / Back | The first press on the button will pause the Playback including all ongoing fades. The second press will advance through the Playback in reversed order. |
| Go | Issues a Go command to start the Playback, or, if it is already running, advances through the different cues of the Playback. |
7.2.3 Playback View Cues Table
The following is a list of columns found in the Playback View Cues Table and their associated functions.
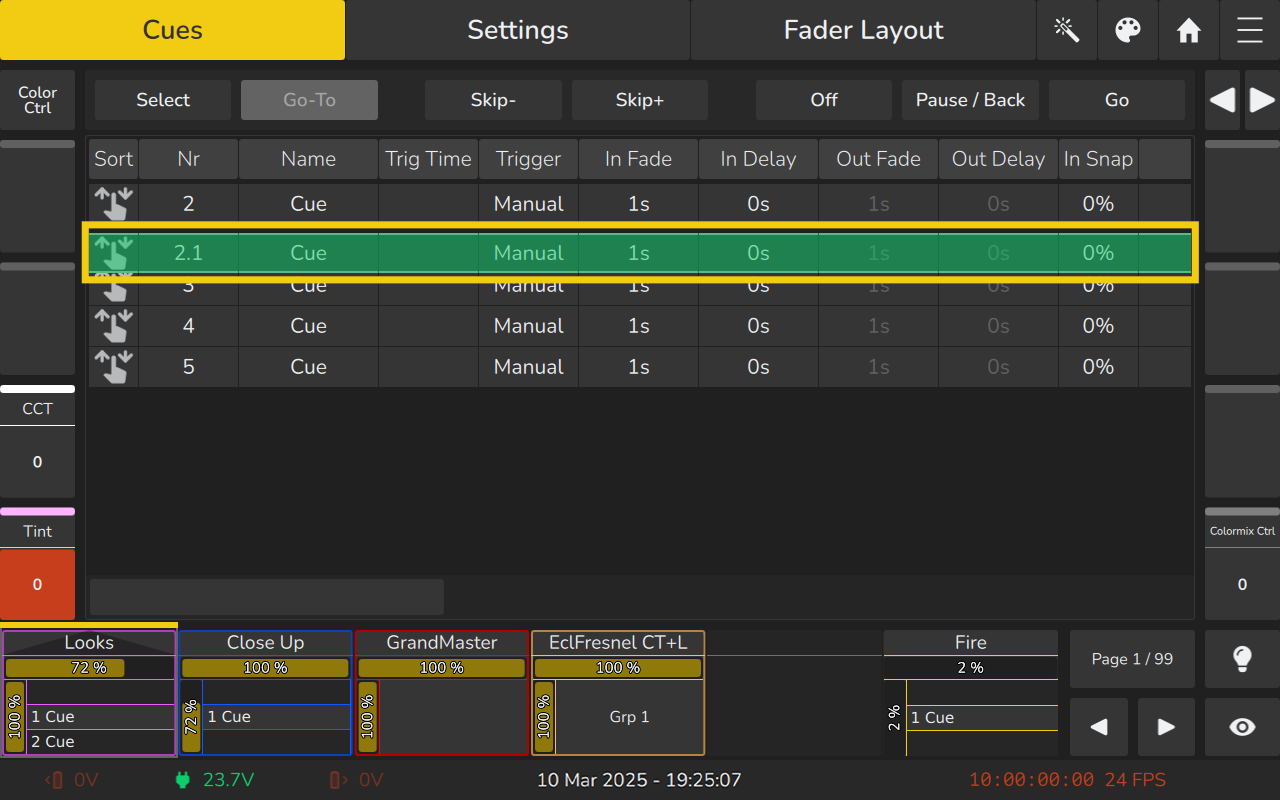
After opening the Playback View for the desired playback (by clicking the playback label or pressing Edit, on the front panel followed by the fader or encoder button), select the cell containing the value you wish to change. Double-click or long-press the cell to edit it.
You can select multiple rows within the same column, but selecting multiple columns simultaneously is not possible.
| Column | Available in Simple Mode | Function |
|---|---|---|
| Sort | Yes | Allows to move cues in the cuelist by dragging and dropping. |
| Nr | Yes | Indicates the Cue number. |
| Name | Yes | Indicates and sets the Cue name. |
| Trig Time | Yes | Indicates and sets the time after this cue will be started. |
| Trigger | Yes | Indicates and sets the type of the trigger for this cue. More information may be found below. |
| In Fade | Yes | Indicates and sets the time to fade into this cue. |
| In Delay | Yes | Indicates and sets the delay time this cue will wait to fade in after being started. |
| Out Fade | No | Indicates and sets the time in which dimmer values that decrement their values will fade down. |
| Out Delay | No | Indicates and sets the delay which dimmer values that decrement their values will wait until fading down. |
| Comment | No | |
| In Snap | No | Indicates and sets the percentage of the fade at which “Snap” values will snap to the new value. |
| MiB | No | Indicates and sets if this cue should be pre-set by the move in black function of the EDGE. |
| MiB Delay | No | Used to define the delay after fixtures reach 0% intensity until a Move in Black is executed in this Cue. |
| MiB Error | No | Indicates if there are any errors preventing MiB |
| CMDs | No | Allows to set up commands that will be triggered when this cue is started. |
| CMD Delay | No | The delay after which a Cue Command is triggered. |
| Int. Fade | No | Fade time for all functions in the Intensity Feature Group |
| Int. Delay | No | Delay time for all functions in the Intensity Feature Group |
| Pos. Fade | No | Fade time for all functions in the Position Feature Group |
| Pos. Delay | No | Delay time for all functions in the Position Feature Group |
| Col. Fade | No | Fade time for all functions in the Color Feature Group |
| Col. Delay | No | Delay time for all functions in the Color Feature Group |
| Gobo Fade | No | Fade time for all functions in the Gobo Feature Group |
| Gobo Delay | No | Delay time for all functions in the Gobo Feature Group |
| Beam Fade | No | Fade time for all functions in the Beam Feature Group |
| Beam Delay | No | Delay time for all functions in the Beam Feature Group |
| Spec. Fade | No | Fade time for all functions in the Special Feature Group |
| Spec. Delay | No | Delay time for all functions in the Special Feature Group |
Sort Column
This column allows you to reorder cues by dragging and dropping the sort handle. It is not possible to drop cues before cue 1. If you would like to do so, please reorder cue 1 instead.
Nr Column
The Cue ID Column indicates the number of the cue. Cues can be renumbered by double or long-clicking in the cell.
Name Column
The Name Column indicates the name of a cue. It may be changed any time by double or long clicking into the cell.
Alternatively, you may press the Name-key on the front panel and select the cue which you would like to rename from the Playback View.
Trig Time Column
This is the time that needs to pass until this cue will be started, use however depends on the trigger selected for this cue. Find more information about the different trigger types below.
It may be changed any time by double or long clicking into the cell.
Trigger Column
Each cue might have different triggers that affect how the Trig Time Column is used. You may change the trigger on a per-cue basis by right, double or long-clicking into the cell.
- These trigger types are available:
- Manual Go
This cue will not be played back automatically. The Trig-Time column is unused. - Wait
Once the previous cue has started, this cue will wait until the defined trigger time has elapsed before starting automatically. - Follow
This cue will start after all timings of the previous cue have been completed. The Trig Time column may be used to enter a positive or negative time to delay or antedate the start of this cue. - Timecode
This can be used to have the cue played back by Timecode. The Trig Time Cell for this cue will change into a timecode time.
- Manual Go
In Fade Column
This is the duration of the crossfade for all fixtures increasing dimmer values. It may be changed any time by double or long clicking into the cell.
In Delay Column
This is the delay that needs to pass for this cue to start any in fade after it has been started. It may be changed any time by double or long clicking into the cell.
Out Fade Column
This is the duration of the crossfade for all fixtures that have decreasing dimmer values. By default, the Out Fade is equivalent to the In Fade. It may be changed any time by double or long clicking into the cell.
Out Delay Column
This is the delay that needs to pass for this cue to start any out fade after it has been started. It may be changed any time by double or long clicking into the cell.
Comment Column
The comment column allows you to enter a text comment for reference which is only shown in the playback view.
In Snap Column
This is the percentage of the overall cue time after which parameters that are set to be a "Snap-Channel" (in the fixture library) will snap to their new value. It may be changed any time by double or long clicking into the cell.
MiB Column
MIB (Move In Black) is a function which in a Cuelist the console will look ahead and preposition parameters of fixtures that are raising the dimmer value from zero, to automatically prevent "ugly" transitions where you would normally see the fixture move the attributes into position, while the fixture is fading in.
You may enable or disable MiB by double or long-clicking into the MiB cell.
MIB is enabled on a cue-per-cue basis.
For MiB to work the fixture must be programmed with a dimmer value of 0% before the Move in Black Cue. Also, for MiB to work, the attributes that should be preset need to be set to “Mark” or “Mark Zero” in the library of the fixture.
Here’s a quick example of how MiB works:
| Cue | Dimmer | Color | Gobo | MiB Setting |
|---|---|---|---|---|
| #1: Intensity | 100% | |||
| #2: Intensity and Color | 80% | Red | Early | |
| #3: Intensity | 0% | |||
| #4: Gobo and Color | 100% | Blue | Gobo 1 | Early |
In Cue 2 MiB is set to “early”, but MiB will not be executed because the Dimmer Value before this Cue has not been programmed at zero.
Cue 4 has the MiB set to early as well. As in cue 3 the dimmer value is set to 0%, the gobo and color wheel will already be pre-set to Gobo 1, so that when the light comes on when Cue 4 is run, the gobo and color will not fade in or snap visibly.
Possible values are None, Early, which will try to move as early as possible and Late, which will try to MiB as late as possible.
MiB Delay Column
If any Move in Blacks are happening in a cue with the MiB Delay set, these Move in Blacks will be delayed by the time specified. The Cell may be changed by double or long-clicking into the cell.
MiB Error Column
The MiB error column indicates if there are any errors that would prevent Move in Black from happening.
CMDs Column
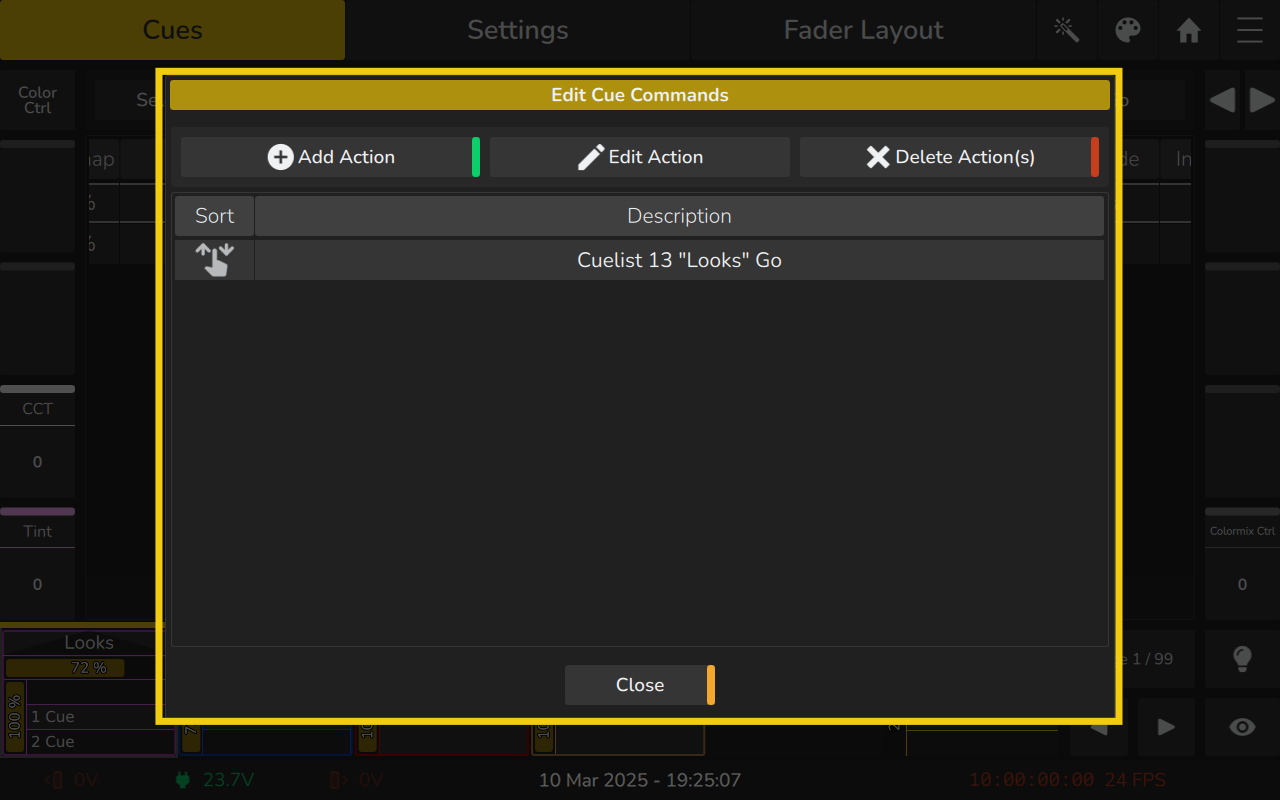
Cue Commands allow you to trigger specific functions on the Edge lighting console when a cue is started. To open the editor for the selected Cues action, double or long-click into the CMDs cell of the respective Cue. The Cue Commands Dialog will be opened.
The Cue Commands Dialog
The table in the Cue Remote Action dialog displays all configured actions providing detailed information and managing their order of execution. The table contains the following columns:
- Sort: This column allows you to reorder actions by dragging rows. MIDI commands with the same note, control, or program change will be executed in the order they appear in the list, from top to bottom.
- Description: A brief summary of the action to help identify its purpose. This description ensures you can quickly recognize the action and understand its function within your setup.
Adding a Command Action
- Open the Cue Commands Dialog by double or long-clicking into a CMDs cell in the Playback View Cues Table.
- Click the Add Action button. This will open the remote action editor, where you can define the specifics of the new MIDI action.
Editing an existing Command Action:
- Open the Cue Commands Dialog by double or long-clicking into a CMDs cell in the Playback View Cues Table.
- From the table in the Cue Commands Dialog, select an existing action that you wish to modify.
- Click the Edit Action button to open the remote action editor.
Alternatively:- Double-click or long-press a cell in the table to directly access the action for editing.
Deleting Command Actions
If you no longer need a specific Cue Command Action or wish to clean up your configuration, you can delete it directly from the MIDI page. To delete a Cue Command Action:
- Open the Cue Commands Dialog by double or long-clicking into a CMDs cell in the Playback View Cues Table.
- From the table in the Cue Commands Dialog, select an existing action that you wish to delete.
- Click the Delete Action button. A confirmation dialog will appear to ensure that you intend to remove the action.
- Confirm the deletion in the dialog to permanently remove the selected action from the MIDI configuration.
The Cue Command Remote Action Editor
The Remote Action editor consists of multiple tabs which offer the selection of the to be triggered item types.

Configuring the Command
You may simply select the item type you would like to trigger from the left hand side followed by selecting the item and specific action on the right hand side.
Below is a list of the available actions:
-
Cuelist
- Toggle
- Go
- Go To
- Pause/Back
- Back
- Pause
- Skip+
- Skip-
- Off
- Instant Off
- Assert
-
GrandMaster
- Toggle Blackout
-
MIDI Output
- Note On
- Note Off
- Program Change
-
Timecode
- Toggle Enable
- Enable
- Disable
- Reset Generator
-
Fader Pages
- Next
- Previous
- Select
CMD Delay Column
This is the delay that needs to pass for this command to be triggered after the cue has been started. It may be changed any time by double or long clicking into the cell.
Int. Fade Column
This is the duration of the crossfade for all fixtures and functions in the Intensity Feature Group. It may be changed any time by double or long clicking into the cell.
Int. Delay Column
This is the delay that needs to pass for this cue to start any crossfade for functions contained in the Intensity Feature Group after the cue has been started. It may be changed any time by double or long clicking into the cell.
Pos. Fade Column
This is the duration of the crossfade for all functions in the Position Feature Group. It may be changed at any time by double- or long-clicking the cell.
Pos. Delay Column
This is the delay before any crossfade for functions in the Position Feature Group begins after the cue has started. It may be changed at any time by double- or long-clicking the cell.
Col. Fade Column
This is the duration of the crossfade for all functions in the Color Feature Group. It may be changed at any time by double- or long-clicking the cell.
Col. Delay Column
This is the delay before any crossfade for functions in the Color Feature Group begins after the cue has started. It may be changed at any time by double- or long-clicking the cell.
Gobo Fade Column
This is the duration of the crossfade for all functions in the Gobo Feature Group. It may be changed at any time by double- or long-clicking the cell.
Gobo Delay Column
This is the delay before any crossfade for functions in the Gobo Feature Group begins after the cue has started. It may be changed at any time by double- or long-clicking the cell.
Beam Fade Column
This is the duration of the crossfade for all functions in the Beam Feature Group. It may be changed at any time by double- or long-clicking the cell.
Beam Delay Column
This is the delay before any crossfade for functions in the Beam Feature Group begins after the cue has started. It may be changed at any time by double- or long-clicking the cell.
Spec. Fade Column
This is the duration of the crossfade for all functions in the Special Feature Group. It may be changed at any time by double- or long-clicking the cell.
Spec. Delay Column
This is the delay before any crossfade for functions in the Special Feature Group begins after the cue has started. It may be changed at any time by double- or long-clicking the cell.