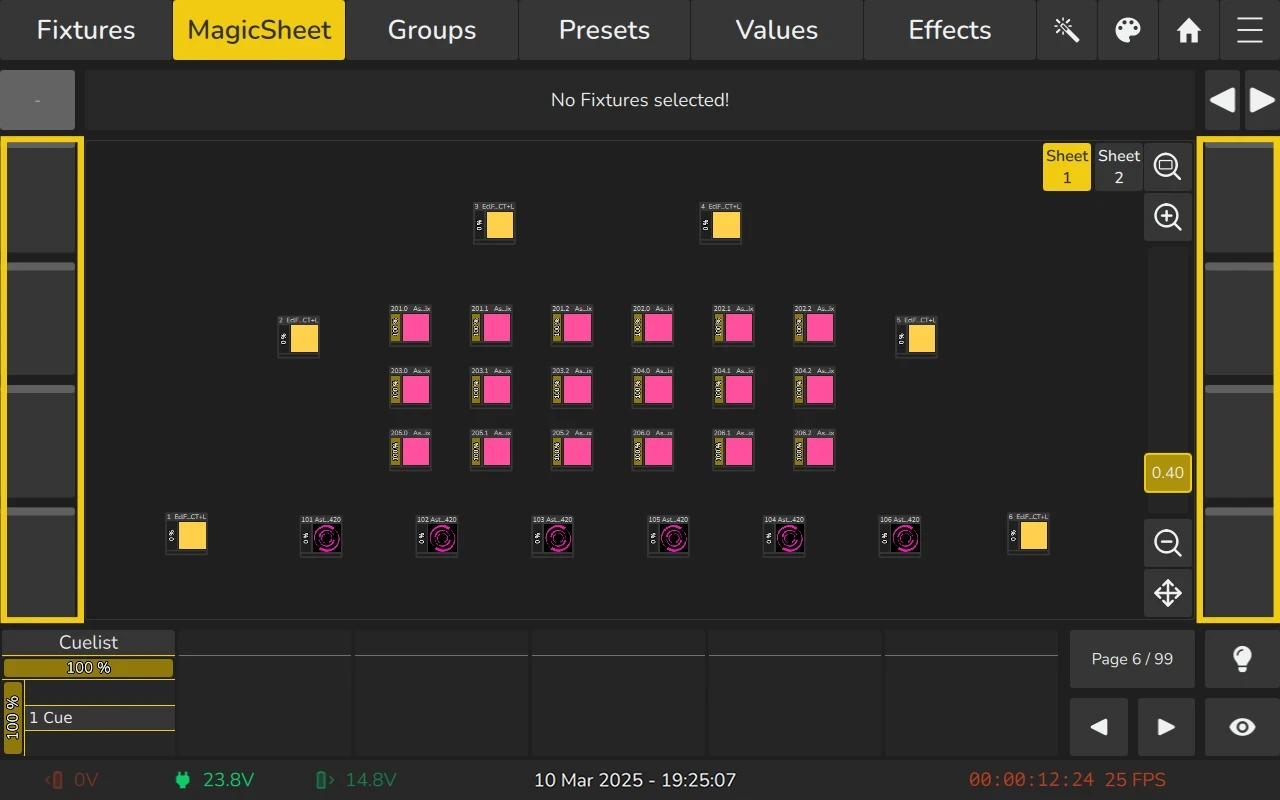
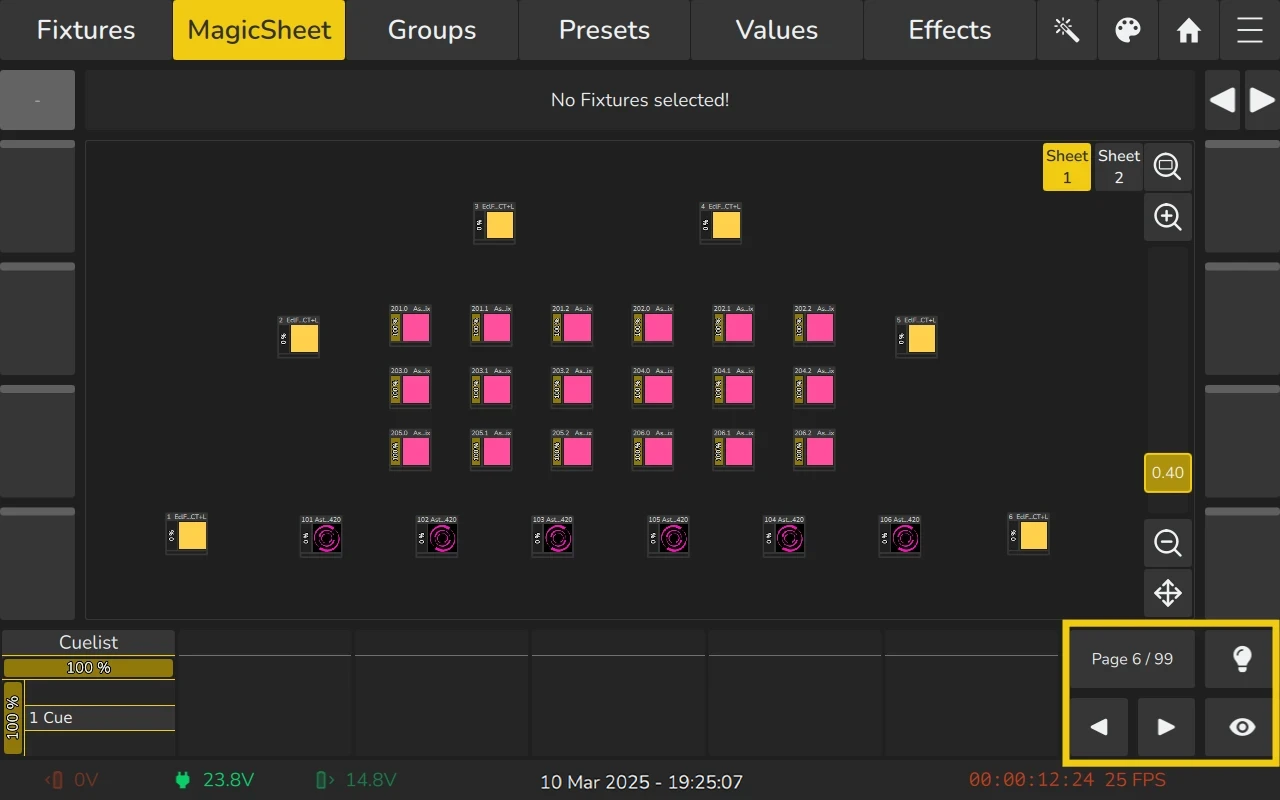
3.1 The Internal Touchscreen Interface
The EDGE Console features an intuitive and user-friendly graphical user interface (GUI), designed to provide a seamless experience while programming and controlling lighting. The console OS supports multi-touch functionality, allowing for efficient interaction with the display.
The screen layout is divided into four main sections:
- Top Toolbar
Provides quick access to key system controls and settings, such as different screens, the color picker, menus, and utility functions. - Encoder Labels
These labels correspond to the physical encoders on the console, displaying relevant information to help the user easily adjust values or settings. - Content Area
The central part of the screen where most of the programming and control functions are displayed. This area may include channel lists, function views, cue lists, or other relevant content depending on the current operation mode. - Bottom Toolbar
This section includes buttons and tools for controlling playback, accessing additional functions, and adjusting settings, often providing quick access to frequently used features.
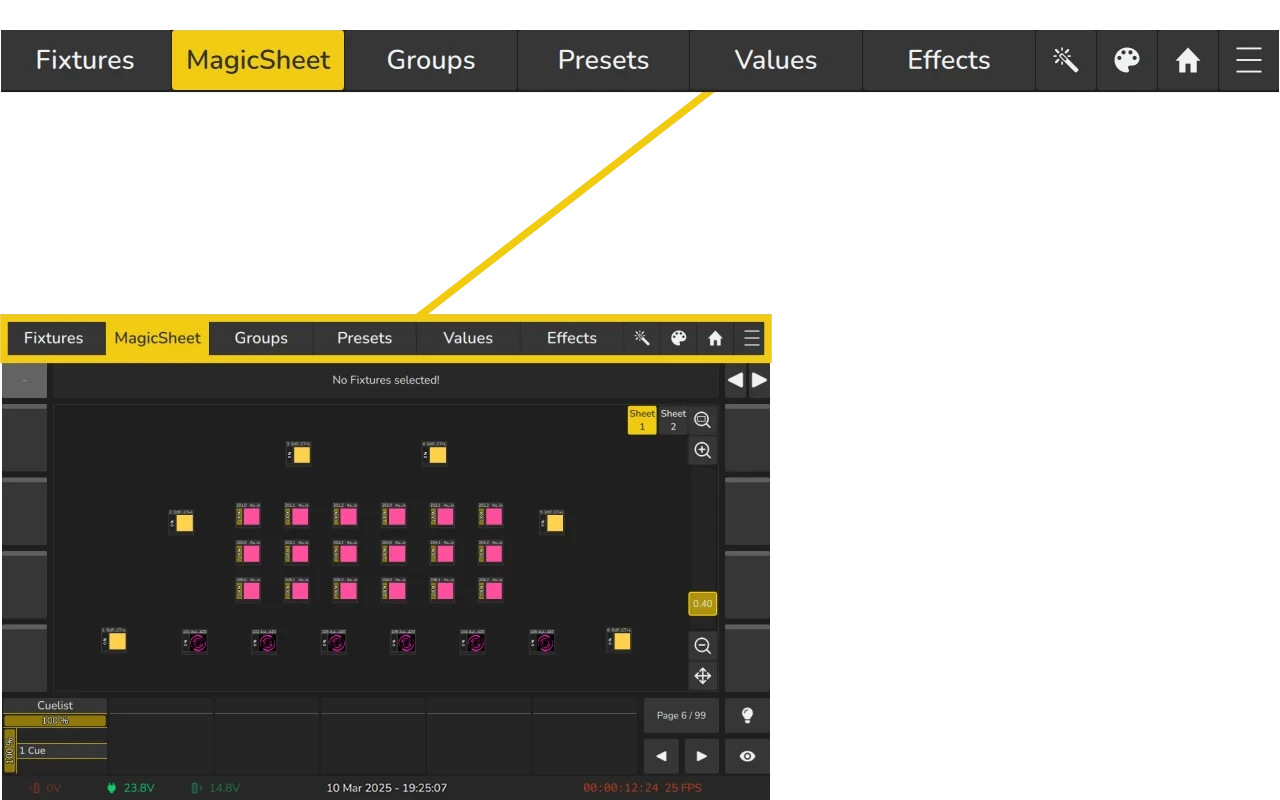
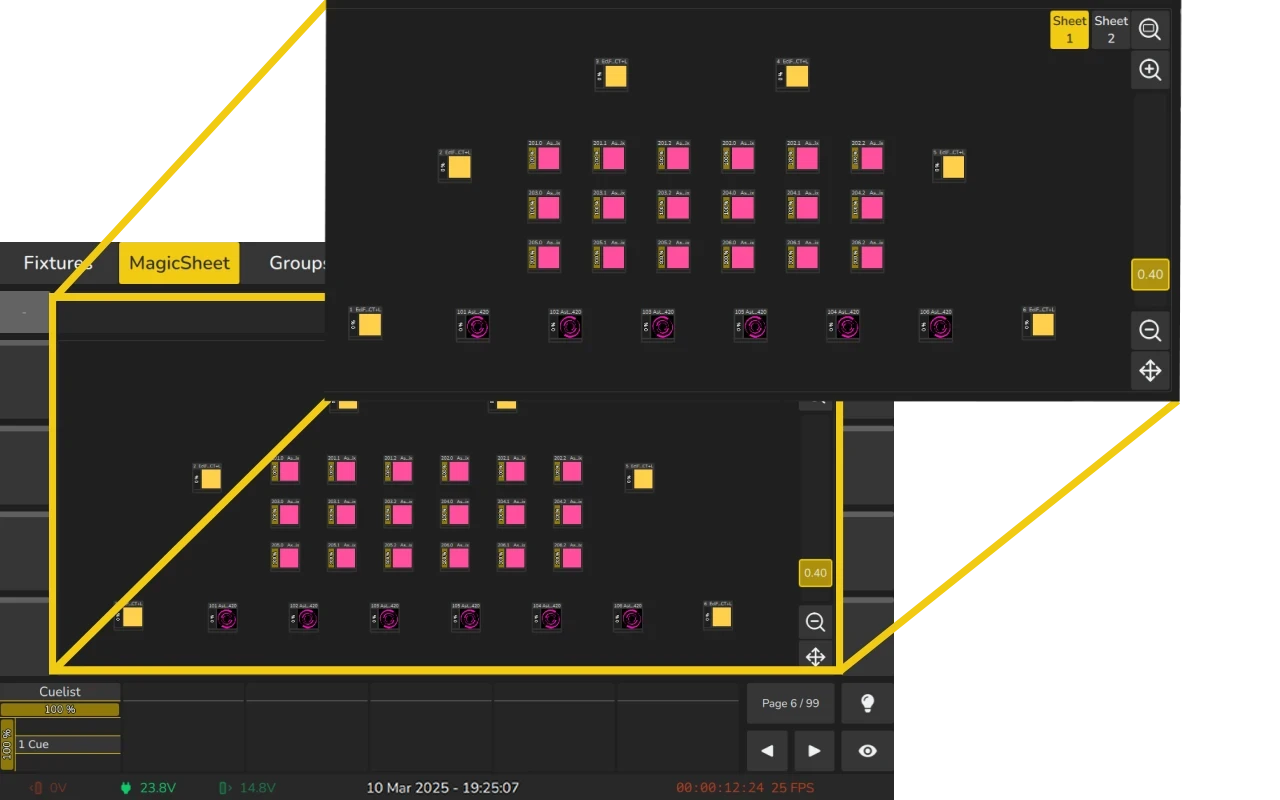
3.1.1 The “Top Toolbar”
The Top Toolbar of the EDGE Console is divided into two parts:
- Left Part: Contains buttons that control the current view. These buttons change dynamically depending on the selected view, providing context-sensitive options tailored to the task at hand.
- Right Part: Contains the main navigation buttons used to move through the different areas of the user interface.
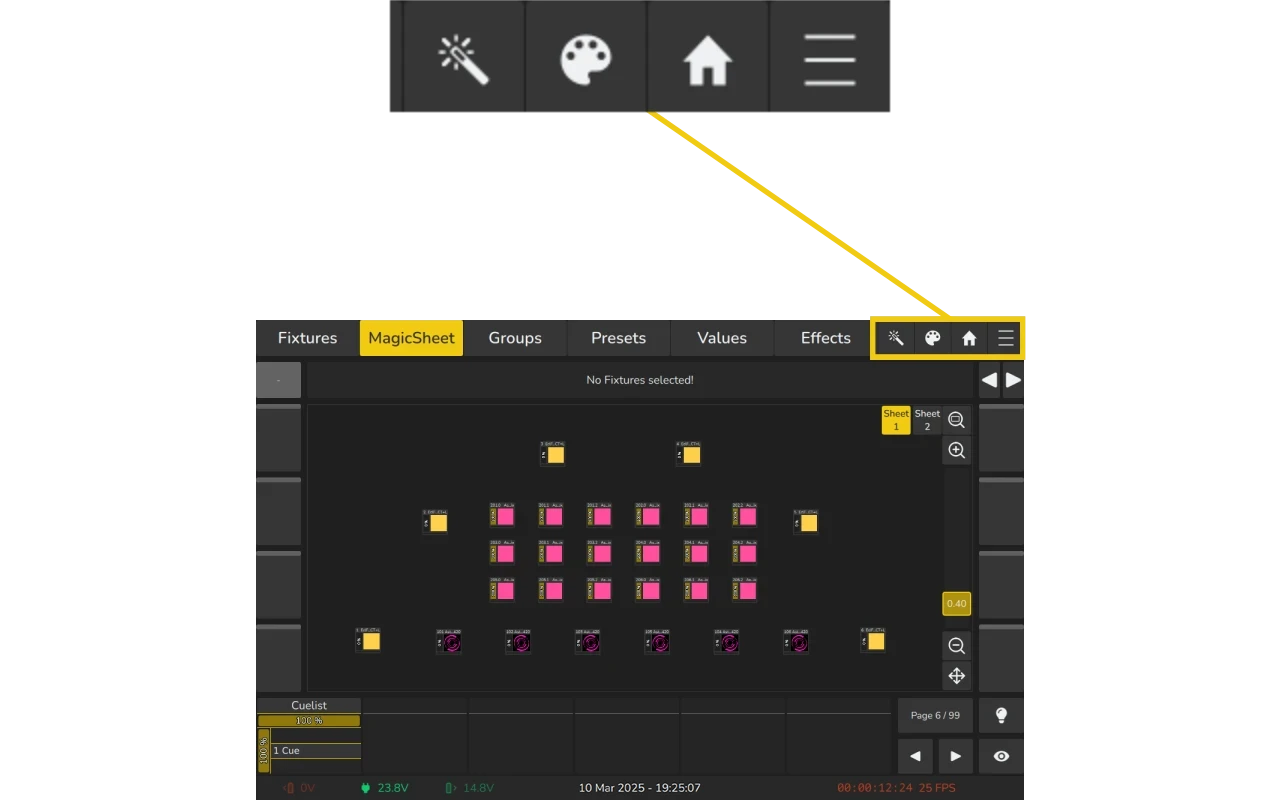
Main Navigation Buttons
The main navigation buttons are used to navigate through the different Main Windows of the EDGE User Interface. The Button functions and names are as follows:
| Icon | Name | Action |
|---|---|---|
 | Magic Wand | Opens the context-sensitive "Action Menu," providing options based on the current selection or view. This button will be grayed out if the menu is not available in the current context. |
 | Color Picker | Toggles the Color Picker View, which gives access to various color tools such as the CIE Picker, HUE Picker, Color Faders, CCT Picker, Gels, and Moods. These tools help users select and adjust colors for lighting fixtures. |
 | Home | Opens the Home Window, where you can select and program fixtures, groups, presets, and set fixture values. It also allows for the creation of effects. Clicking this button while already in the Home view will bring you back to the last open screen. |
 | Menu | Opens the Menu, which provides access to additional useful screens and options. From here, you can access the Setup screen, the Patch screen, and shortcuts to other functionalities and screens for efficient management of your console. |
3.1.2 The “Main Area”
Encoder Labels
The Encoder Labels display the function and current value for each of the 8 encoders on the console. These labels provide information about the encoder's assigned function and allow you to make adjustments.
- Function and Value Display: The encoder label shows the current function assigned to the encoder, along with the value for that function. This helps you quickly identify what each encoder controls and what its current setting is.
- Interactivity: Clicking on an encoder label or the encoder itself opens a dialog that provides additional options. Depending on the encoder’s function, this may include a numeric keypad for entering values or a list of available ranges for the function.
- Visibility: The encoder labels are hidden when the Menu is open to provide more space for the menu options. The labels reappear when the menu is closed so you can continue adjusting the encoders.
- Color Indicator: The colored line in the encoder label matches the color of the RGB backlit encoders. This provides a visual cue to help identify which encoder corresponds to which function.
These encoder labels and their associated dialogs allow for easy and efficient control of the console's functions.
The “Content Area”
The Content Area displays context-sensitive screens and pop-up windows based on the selection made from the Top Toolbar, Magic Wand, Color Picker, Menu, or other user interface elements.
- Dynamic Content Display: The content area updates to show different screens, depending on the active selection or task. For example, when you select a fixture or function from the menu or top toolbar, the content area will display the relevant settings, functions, or edit screens for that selection.
- Cue List Editing: The content area also provides screens for editing Cuelists. This includes options for adding, editing, or managing cues, allowing you to make quick adjustments to your show programming.
- Pop-up Dialogs: In addition to main screens, the content area can display pop-up windows that provide additional information or options based on the task at hand. These windows are temporary and will appear as needed to support user interaction.
This layout ensures that the user can easily navigate between tasks and quickly access all necessary controls and settings.
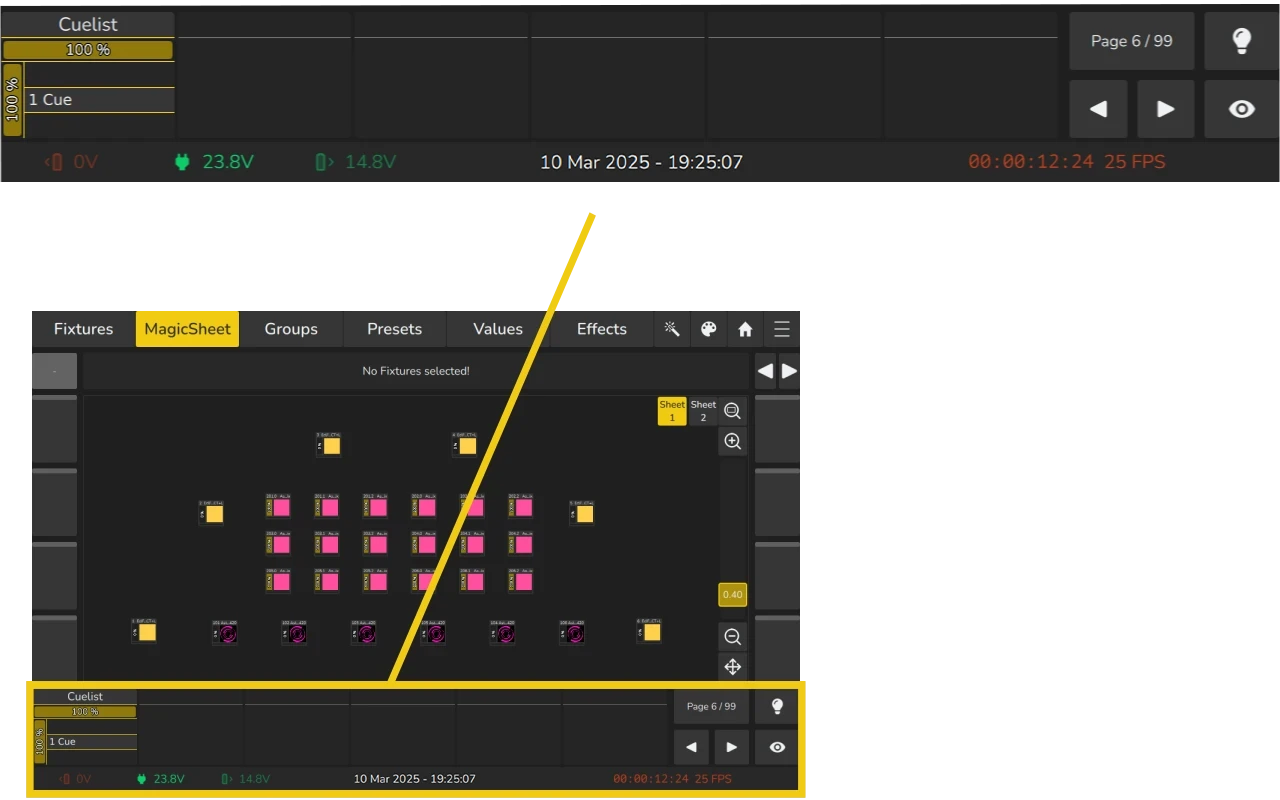
3.1.3 The “Bottom Toolbar”
The Bottom Toolbar is divided into three main sections:
- Fader Labels: This section displays the labels for each playback fader, helping you identify the functions and current state assigned to each fader in the system. These labels correspond to the playbacks, allowing for quick reference and adjustment during operation.
- Page Selector, Highlight, and Blind Buttons:
- Page Selector: This section allows you to navigate through different fader pages, giving you access to more playbacks if needed. The page selector helps you manage large numbers of playbacks by dividing them into separate pages.
- Highlight Button: This button is used to highlight a selected fixture or function, making it easier to focus on specific elements in your show. Blind Button: The blind button enables blind editing of cues or settings, allowing you to make changes to your program without affecting the live output.
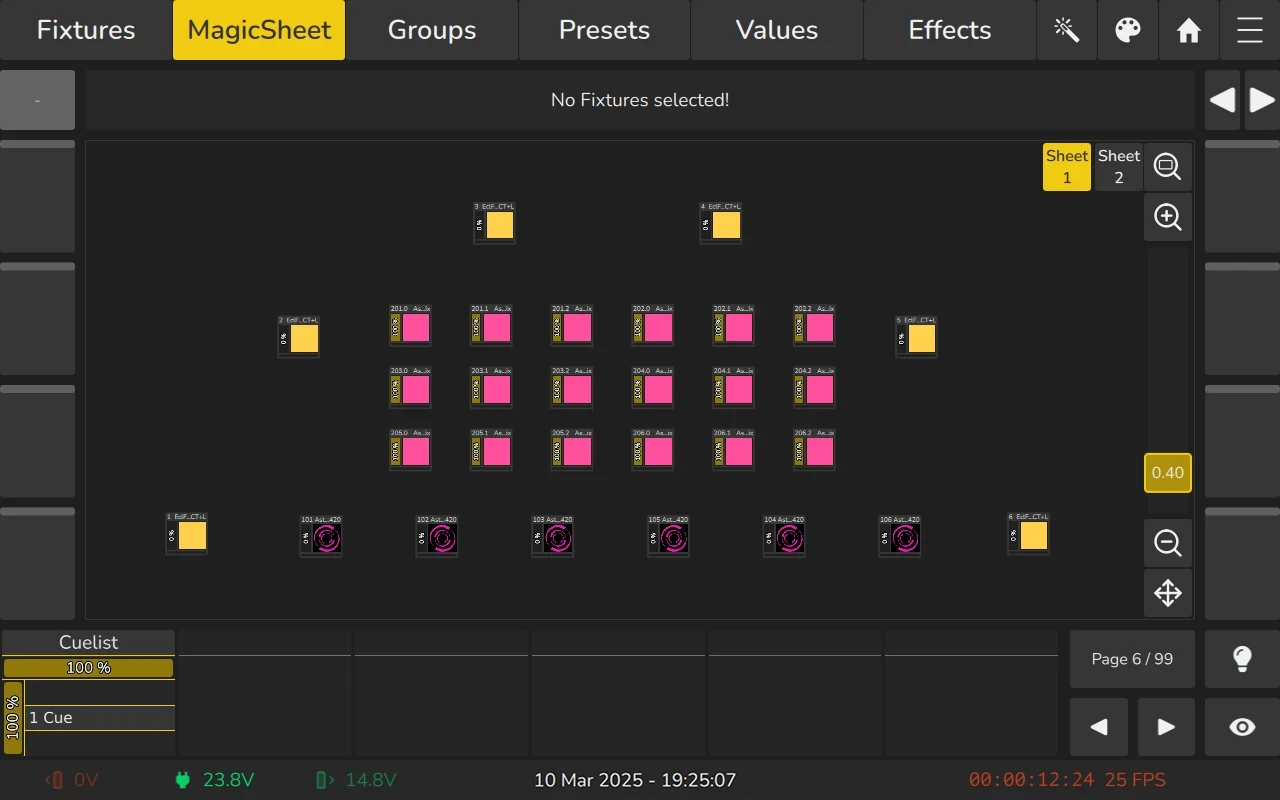
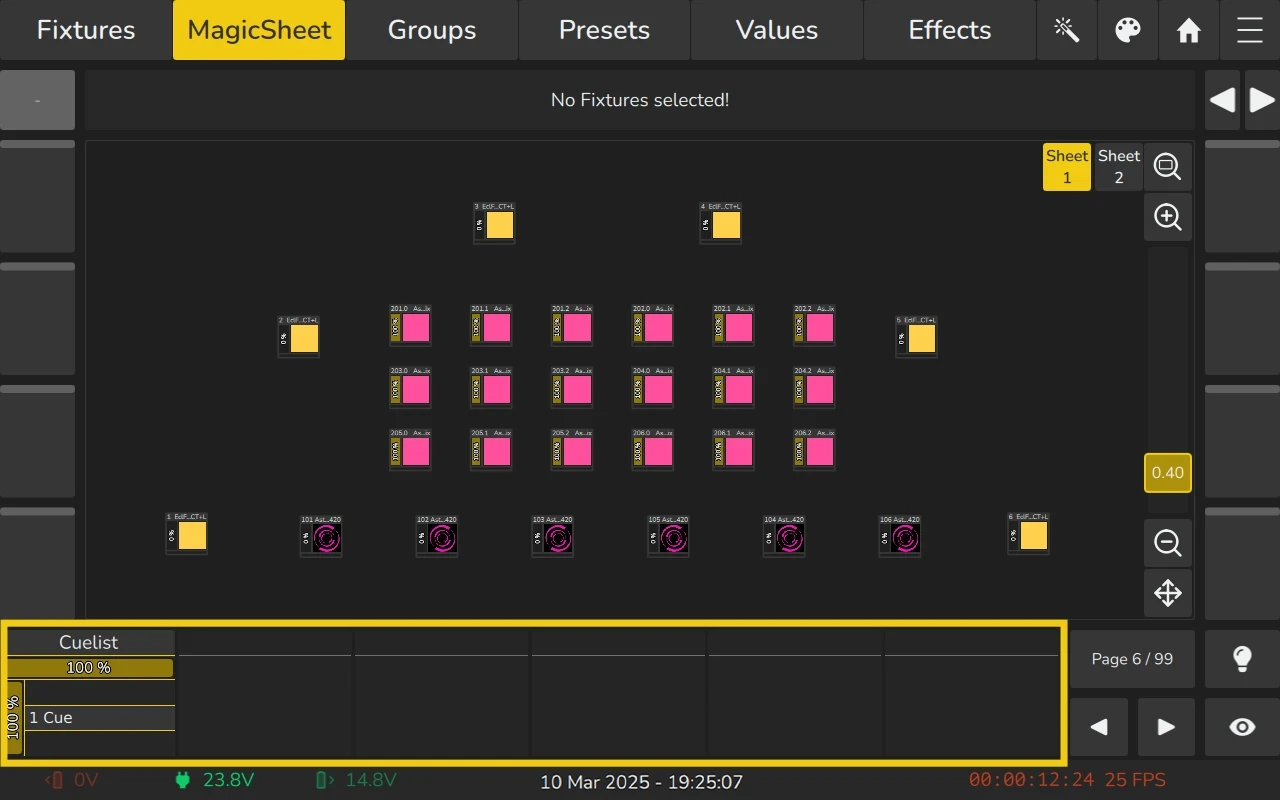
- Status Bar: This section displays important system information, including the current status of your console, system alerts, and relevant show data. It also shows the battery status and other important indicators.
Fader Labels, Page Selection and Highlight / Blind buttons
The Top Section of the Bottom Toolbar displays Playback Fader Labels on the left side. Each label provides key information about the corresponding playback, including:
- The name of the playback element.
- The current levels of the associated fader and encoder.
- Additional details, such as the numbers and names of the previous, current, and next cues, when applicable.
For more information regarding Playback Fader Labels please see The Playback-Fader Labels page.
Playback Page and Highlight / Blind Buttons
On the far-right side of the Bottom Toolbar, you will find controls for Fader Page Navigation, as well as the Highlight  and Blind
  buttons:
Fader Page Navigation
- Fader Page Button:
- Displays the current page number or name (if a name is set).
- Clicking this button opens a dialog that allows the user to directly select a specific fader page, including the Template Page.
- The Template Page contains playbacks that are accessible on all fader pages.
- Previous
 Page Button (Arrow to the Left):
- Selects the fader page before the current one.
- The selection wraps around from Page 1 to Page 99, skipping the Template Page.
- Next
 Page Button (Arrow to the Right):
- Selects the fader page after the current one.
- The selection wraps around from Page 99 to Page 1, also skipping the Template Page.
Highlight and Blind Buttons
- Highlight Button:
- Activates the Highlight functionality for all selected fixtures.
- By default, Highlight values include Dimmer at 100%, no colors, no gobos, and no beam effects. These values can be customized in the Fixture Library.
- Blind Button:
- Activates Blind Mode, where changes made in the programmer (such as adjustments to values or effects) do not affect the live output on stage.
More about the Fader Page selector can be found in section Playback Fader.
More about the Highlight and Blind functionality can be found in 6.5.5 Highlight Function and 6.5.4 Blind Function
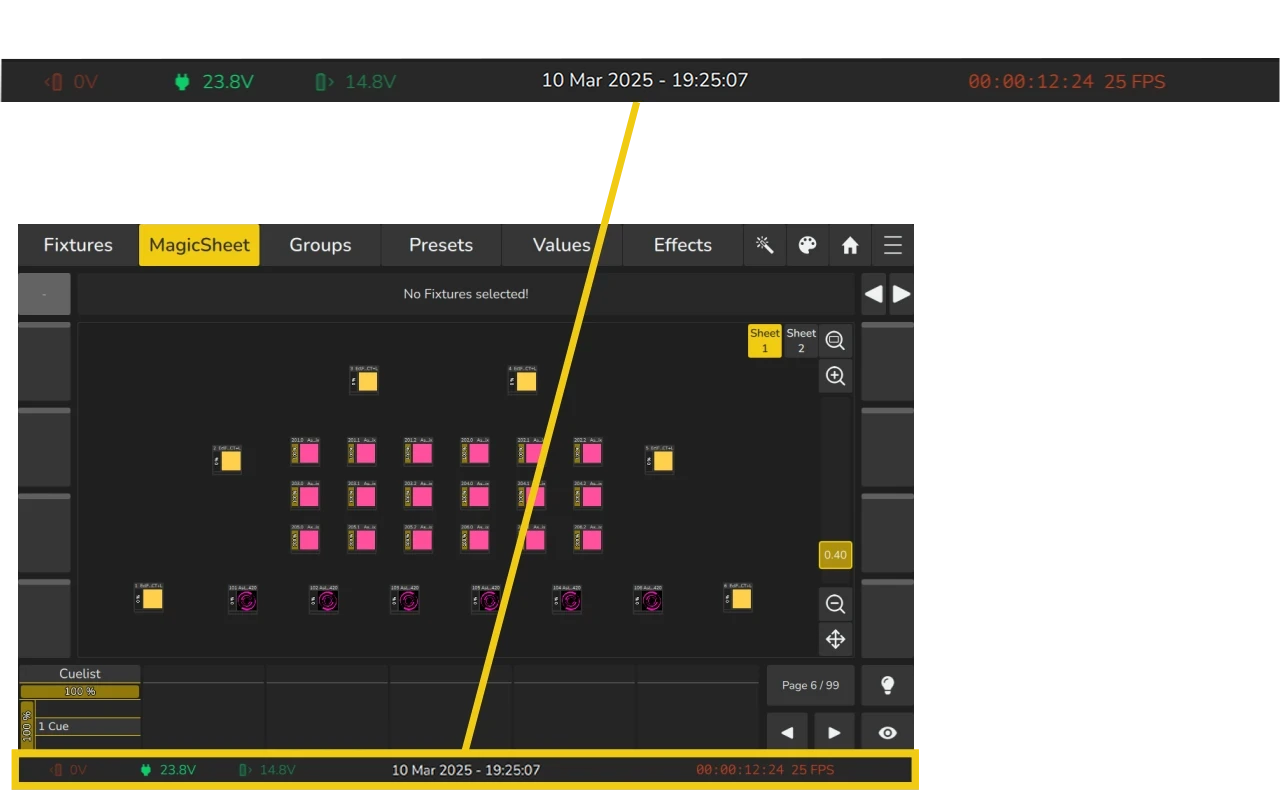
Status Bar
The Status Bar, located at the bottom of the screen, provides key information and notifications, including:
- Power Status: Displays the state of the console’s power sources and the currently selected source.
- The active power source is highlighted.
- Voltage Warnings:
- Green: Voltage above 13V indicates a healthy power level.
- Orange: Battery voltage below 13V triggers a warning dialog, advising the user to switch to a different power source or replace the battery.
- Red: Battery voltage at or below 12.8V triggers a critical power warning. If not addressed, the console will shut down within 15 seconds.
- For additional details or to manually select a preferred power source, see the 5.4.1 Power / Batteries.
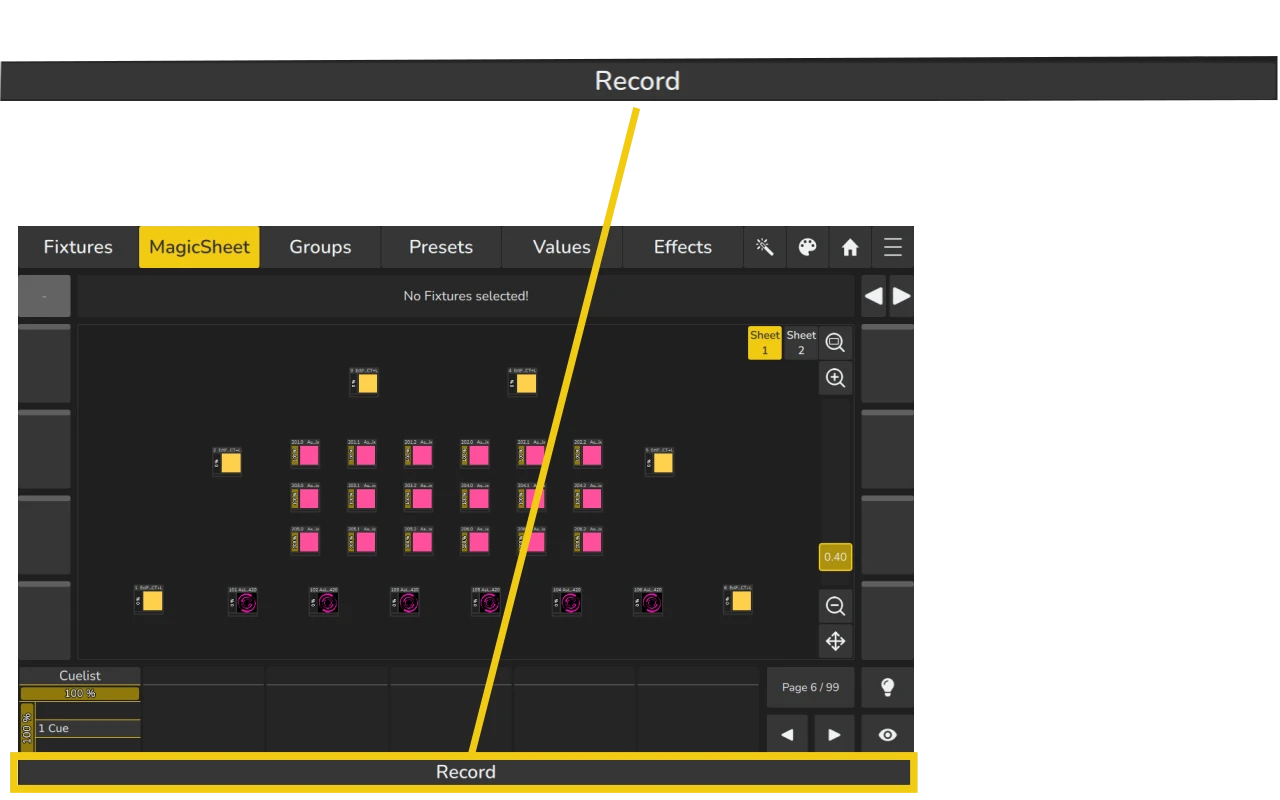
- Current Command: When a command is active, it will be displayed here until it is completed.
- Date and Time: The current date and time are shown.
- Timecode: Displays the current timecode if in use. If red, timecode is not enabled or incoming, if green timecode is enabled and rolling.
Active Command
When a command is active, it is displayed in the Status Bar at the bottom of the screen.
- Command Status:
- White Text: Indicates an active and valid command.
- Red Text: Signals an invalid command or one missing required information.
- Additional Command Settings: For certain commands, such as Record, additional settings or options may be accessed by clicking on the command label displayed in the Status Bar.