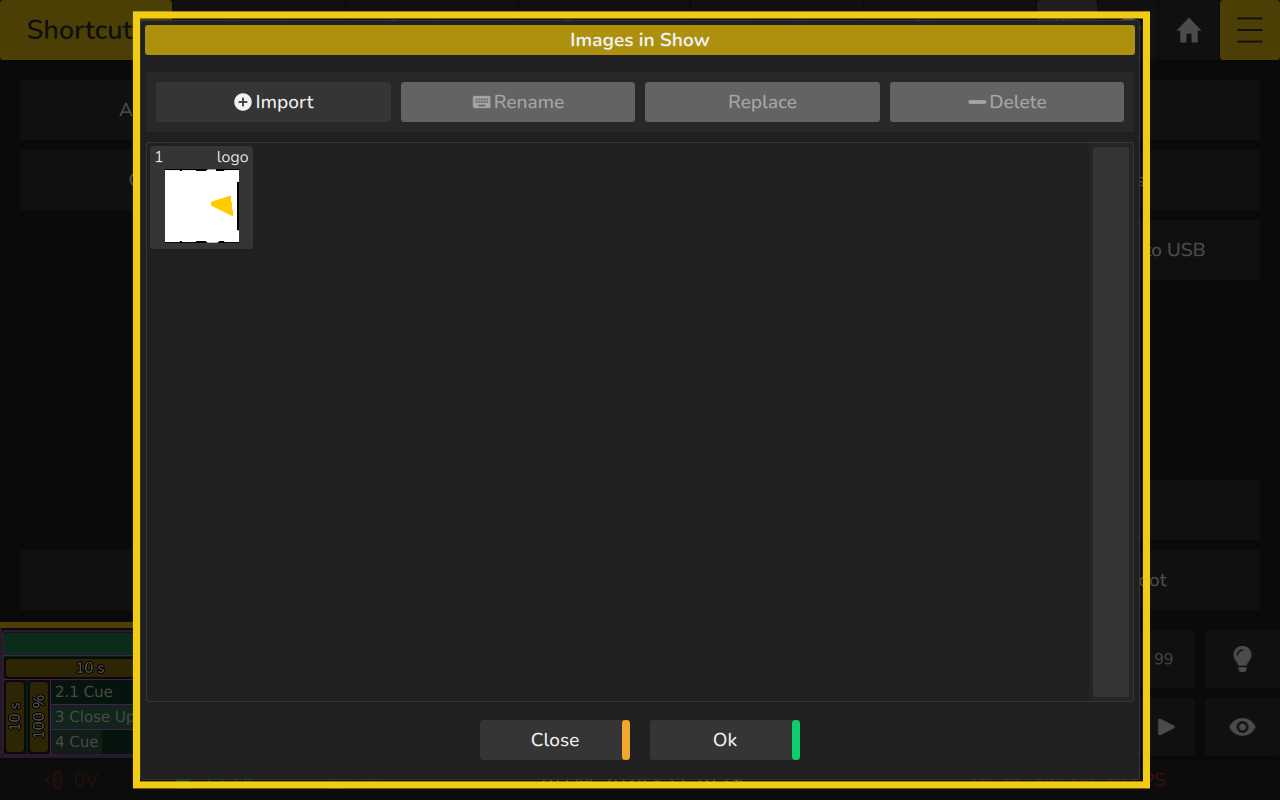
9.1 Image Pool
The Images in Show dialog displays a pool of images that have been imported to the showfile.
A preview of the image is shown on each pool item.
9.1.1 Image Item Long-Click Menu
The long-click menu offers the following options:
-
Change Name
Allows you to rename the image for better organization or clarity. -
Set Appearance
Lets you add a colored border around the image item for visual distinction. -
Replace
Lets you replace an image with another. -
Delete
Deletes the image from the Images in Show view.

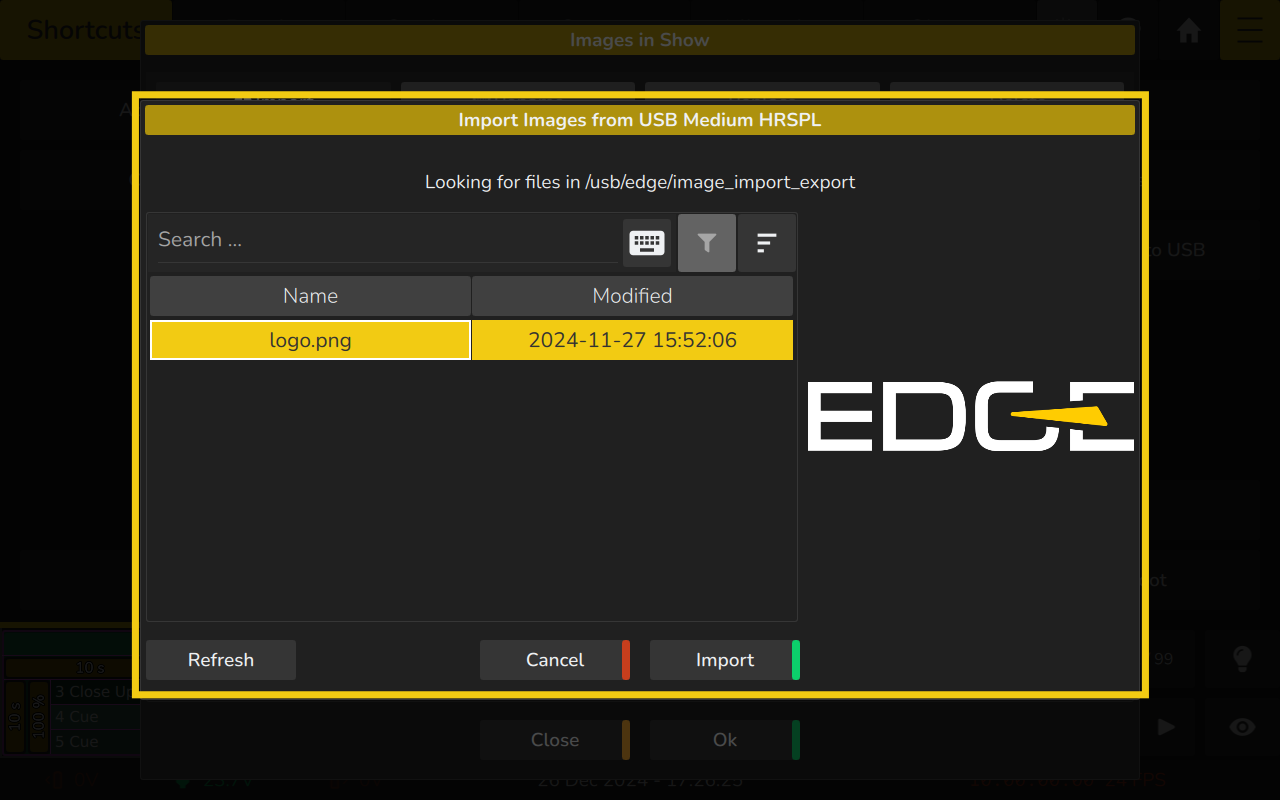
9.1.2 Importing new Images
To import images, click the Import button in the toolbar of the Images in Show dialog.
When selecting an image file, a dialog will prompt you to choose a file from the /edge/image_import_export folder on the USB Stick. Supported file formats include JPG, webp, GIF, BMP, and others. Transparency is supported for webp and GIF files. Make sure the edge folder is located in the root of your USB key.
EdgeGo is compatible only with USB sticks formatted in FAT32 with a maximum size of 32GB.
If your USB stick is larger, create a partition and format one partition in FAT32 with a size below 32GB.
To access Images in Show, open the Shortcuts page from the Menu and select Images in Show.
9.1.3 Renaming Images
To rename an image, select it and click Rename in the toolbar of the Images in Show dialog.
Alternatively, you can long-press the image and choose Rename from the context menu, or press Name and tap on the image.
9.1.4 Replacing Images
To replace an image in the pool with a newer or different version and have it automatically update in all use-places, select the image and click Replace in the toolbar of the Images in Show dialog.
Alternatively, you can long-press the image and choose Replace from the context menu.
9.1.5 Deleting Images
To delete an image permanently, select it and click Delete in the toolbar of the Images in Show dialog.
Alternatively, you can long-press the image and choose Delete from the context menu, or press Delete on the front panel and tap on the image.